Whether you’re sprucing up some projects that lay waiting during the cold months or giving your home a complete overhaul, now’s your chance to get back on track with some simple home transformations. Here are three tips on DIY home maintenance.
Fixing Stripped Screw Holes
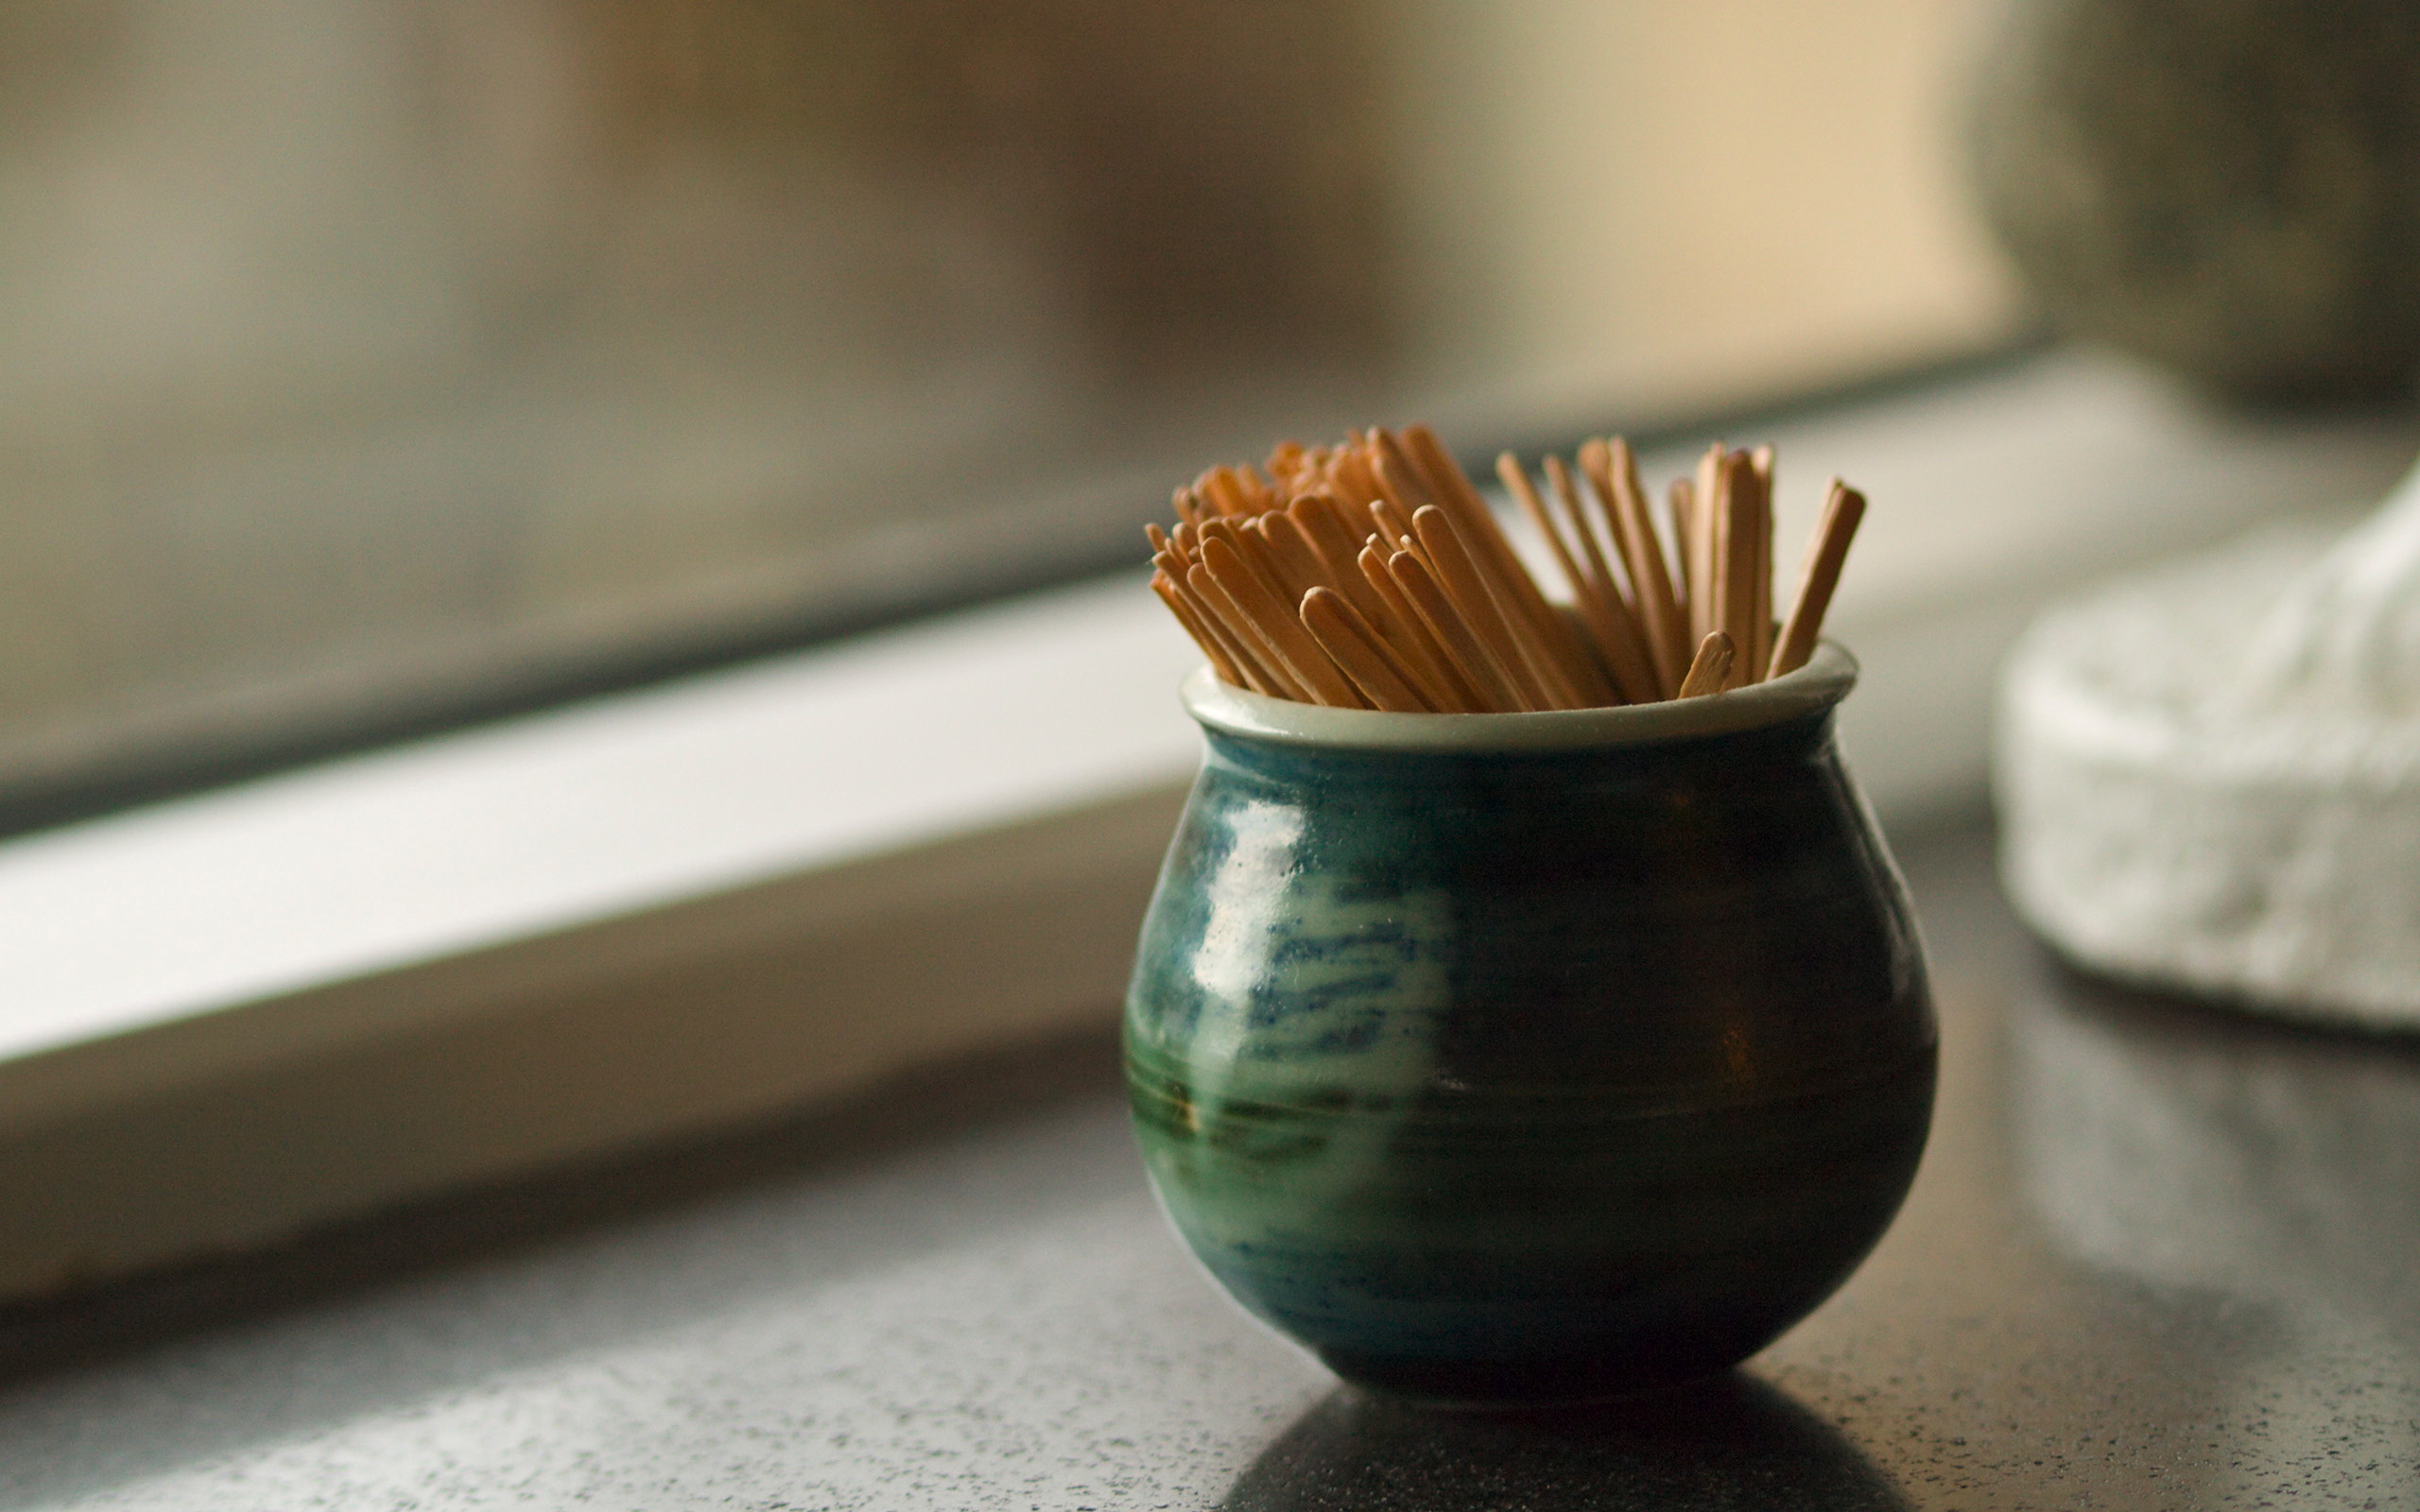
As you are tackling your home maintenance projects, here’s a tip that can save you some headaches. A truly simple “Life Hack:” using toothpicks to fix a stripped screw hole in wood. Fill the hole with a few toothpicks. Gently tap toothpicks with a hammer to secure them in place. Cut them to be flush with the wood – and voila! The screw will grip the soft wood of the toothpicks making a sturdy fit that’ll last.
Who knew toothpicks could be so handy? Sometimes you don’t need to spend money on expensive tools; household items can have a hidden value.
Reviving an Old Dresser
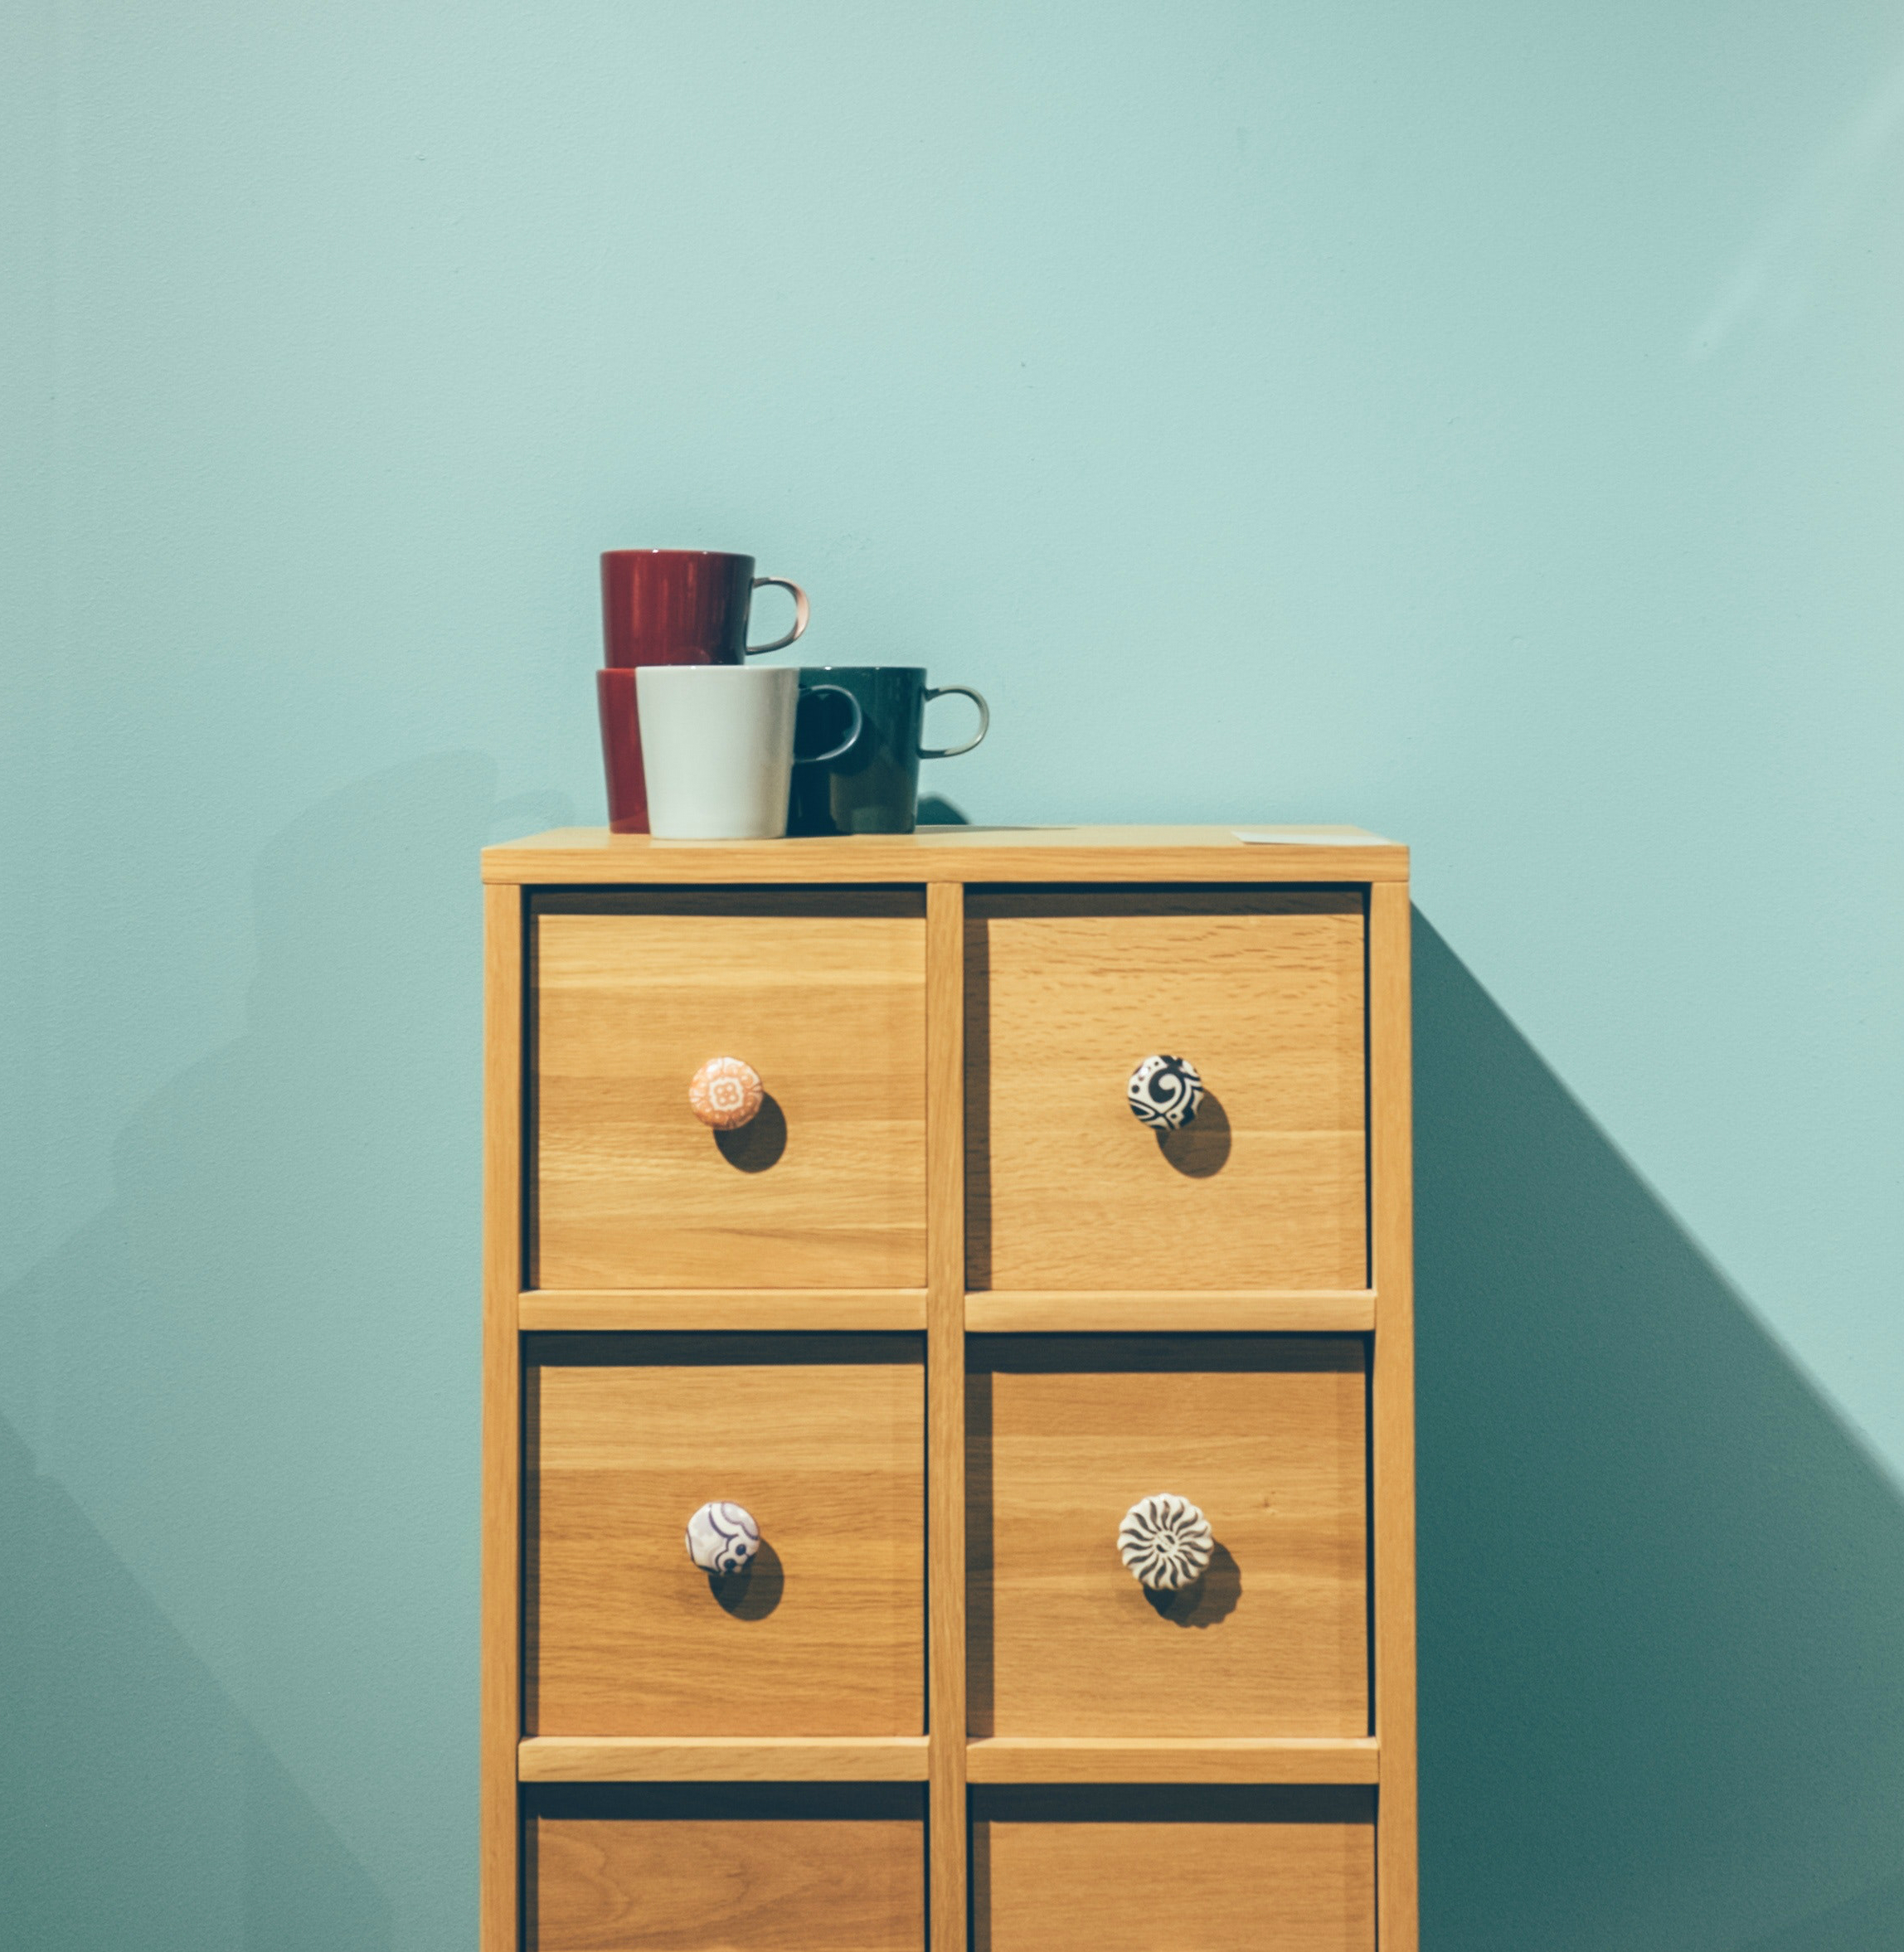
Giving your old dresser a new life is an easy way to refresh an entire room with just a few steps. For a warm and natural finish, consider staining your old dresser.
First, be sure to sand the entire exterior with rougher sandpaper to buff and then again with a softer sandpaper for a smooth finish. Be sure to sand in the direction of the wood grain and use a dry, clean cloth to remove leftover dust.
Choose a wood stain that will compliment your room and, using a smooth cloth, apply to stain evenly on all, exterior surfaces. If the stain becomes overwhelming, simply let it dry and sand again.
Once the stain is set and dry, apply a paint sealant for wood of your choice. Remember, don’t worry too much about making everything perfect; small imperfections can add to its charm.
Homeowner tip from Tandi C.: “Ugly screw or nail holes in wood? Sharpen a quarter-inch dowel with a pencil sharpener, tap in place with a spot of glue, and cut with a razor knife. Stain and finish.”
A Paint Pick-Me-Up
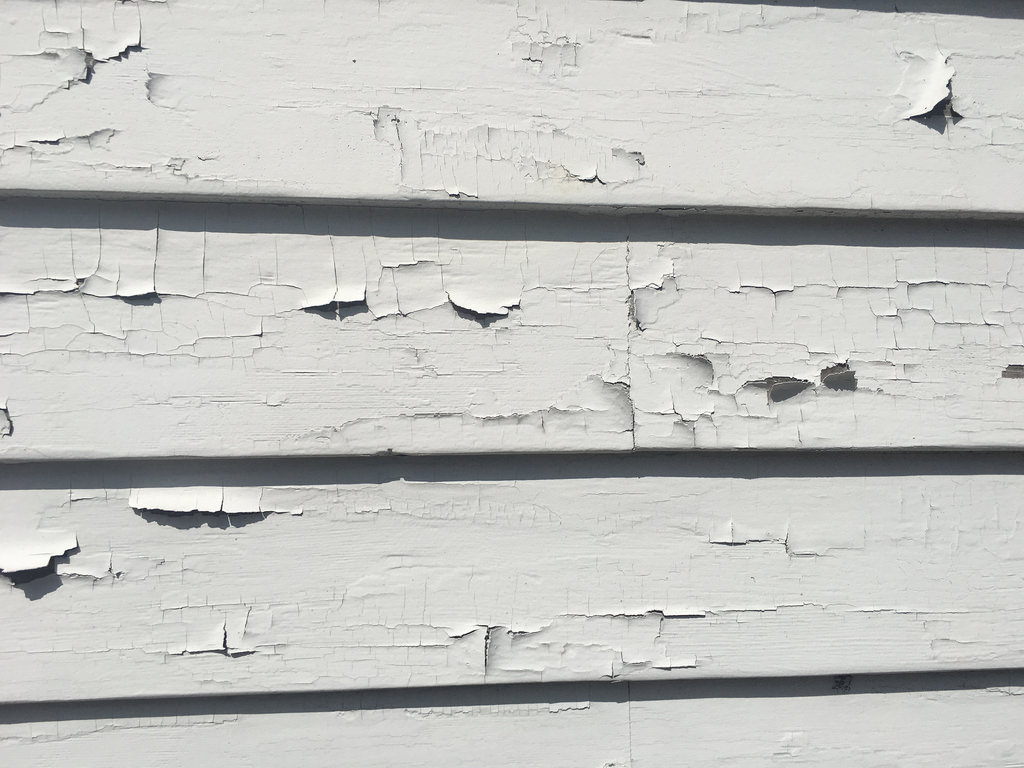
Peeling paint can show a home’s age before its prime, but a few layers of paint can go a long way in making your home look refreshed. To start, scrape away loose edges where the paint is peeling with a paint scraper until it gives you some resistance. Make sure to go with the grain, not against.
Use a wire brush to wipe away debris and if the paint starts peeling again, repeat with the scraper.
Now, with a real, bendable putty knife, apply wood filler to the exposed area. For this step, you may have to work quickly – depending on the type of wood filler you choose, the window before it hardens may be short. We recommend applying a little beyond that specific area, just to be sure; don’t worry, it’ll sand off later.
Allow wood filler to dry thoroughly (about 1 – 2 hours, depending on the manufacturer). Use smoother sand paper and sand the wood filler until it’s even with the wall.
Apply primer to the sanded area.
Once dry, paint in layers until the desired color matches the surrounding areas.
Homeowner tip from Eric R. in Philadelphia, PA: “Before painting or caulking, work a liberal amount of hand cream into your hands and forearms, around your fingernails. Wipe off excess with a towel. After you’re done, any paint comes off much more easily.”
WARNING: If your home was built before 1978, there is a chance it may have lead-based paint. Exposure to lead from paint, chips, or dust can pose serious health hazards. DO NOT use this method if this pertains to you. For more information on lead-based paint, click here.
If you need to purchase paint, tools, or find a new piece of furniture for your next DIY project, head on over to one of our four Portland Metro area ReStores.